Final Blog Post

Coil Bowl Caramel Gloss Glaze


Sgraffito Slab Midnight Blue Glaze
Teapot Caramel Gloss Glaze & Fudge Brown Glaze


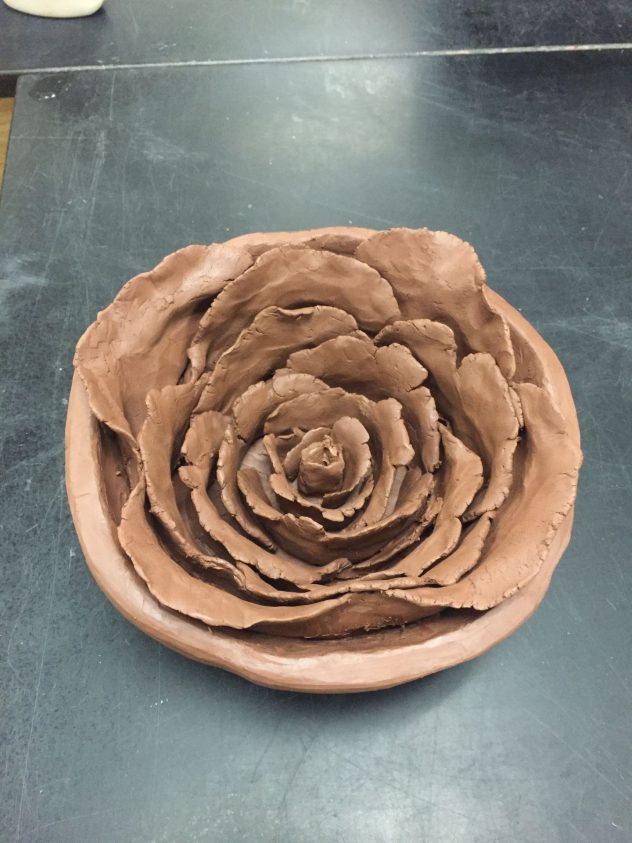
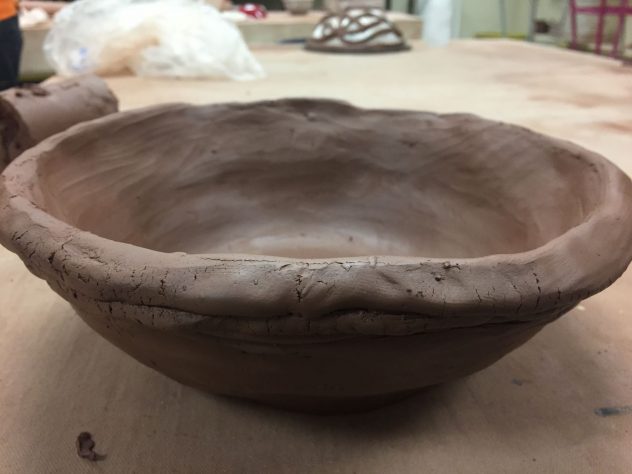
The artworks that I have created throughout the year demonstrate my growth as an artist and student because I have learned many new techniques and skills. One specific artistic behavior that I have tried this year is taking risks, when making my teapot I was quite nervous about how I was going to make the handle and the spout. I then got help from the teacher and was able to successfully make the these parts. My coil bowl demonstrates my growth as an artist because it was the first time that I’ve ever built a coil bowl and at that I wasn’t skilled in this technique so it was very small. If you take a look at my teapot, that is also built by the coil bowl technique but it is much bigger than the coil bowl. Also, the design inside of my bowl was the first time I tried engraving a design. Also, on my sgraffito slab is a similar design as the bowl but it’s much more detailed.

The project that I would want to redo the most is the teapot. Although I am happy with the final outcome there are a lot of things that I had intended to do but ran out of time to do. Some of these things would be that I wanted to engrave some flower designs like the sgraffito slab and the coil bowl. Also I attached my handle a little crooked I would try to attach it as straight as possible.

Studio Visit

The artist I chose is Jenny Mendes from Chesterland, Ohio. She works in a small studio that is attached to the back of her house and she lives in solitude to gain more inspiration from nature. Mendes believes that challenging periods of work often reveal themselves to be moments of productivity and creativity. I like how she incorporates nature into her artwork.

Blog Post #10

Artists Research

For my final project I’ve decided to make a ceramic slab lantern. Before planning out my design, I had do some research and look up other different types of lanterns. I want to add some aspects of Islamic architecture such as the extremely intricate designs and how they have gigantic domes and entrances in many mosques. The shape of my lantern is a hexagon therefore I need six rectangle slabs and two hexagon shaped slabs for the bottom base and the top base.  I will also have to make a medium-sized coil bowl for the dome that will go on top of the lantern.

Artists Plan

For the planning part of my project I first drew out exactly how I wanted my lantern and then separately drew each slab that would be in this lantern so I know exactly how many slabs I will need for the lantern. I then went on to make the templates for my slabs. Two of my rectangle slabs needed to be a little bit wider than the other four rectangle slabs because my hexagon was a little wide also. The height of my rectangle slabs are not the full seven inches because once I add the dome to the top of the lantern it will add a few more inches. I will cut out openings into each rectangle slab that resemble the entrances in mosques and engrave a lot of intricate designs all around the lantern.


Continue reading Blog Post #10

Blog Post #9

Describe

For my “Up Close” project I decided to make a coil bowl with a giant, three dimensional rose filling up the bowl. I also added a few leaves to the lip of the bowl just for some more detail. One of the most important elements of this artwork would be color and texture, the texture is especially important because you have to make sure the rose petals aren’t too round or have neat and clean edges otherwise it won’t look real. I also had to add a rough texture to the leaves to make them look realistic also. The color was important to me because if I had picked a bad color combination then the whole piece would’ve been ruined. I also used a Scarlet Gloss Glaze and a Pig Pink Gloss Glaze together on the petals and I ended up with a nice result.

Analyze

I feel that my artwork has good proportion and balance. This is because I made sure that whatever I put on one side, I would put it on the other side. I also made sure to put the same embellishments on each side. The most significant principal of my artwork is balance because when an artwork has symmetry it makes its visual appearance much nicer to look at.

Interpret

The meaning behind my artwork is that nature is everywhere and that the things we eat and drink also come from nature. The bowl is supposed to represent the food and drink part and the rose and the leaves represent nature. From far away this piece might look like an ordinary bowl but as you get closer and look inside the bowl, you end up seeing a giant rose filling the whole entire bowl up.

In order to improve my artwork, I would’ve wanted to add some more leaves and smaller roses around the bowl, had there been more available time. I also would have wanted to add some other factors that more communicated the food and drink part of my piece. It also would’ve nice to be able to more details and embellishments to my petals and leaves.

Evaluate

Despite all of the things that I wish I could’ve added, I feel like this piece was pretty successful and I was really surprised that I was able to make a real life,    3-D rose when I can barely draw one. I feel like I was pretty successful in communicating the theme of my project. This is because I was able to merge a bowl and a rose together which, I feel, showed quite well that nature is present in everything.


Blog Post #8

This is my latest project that is still in progress.

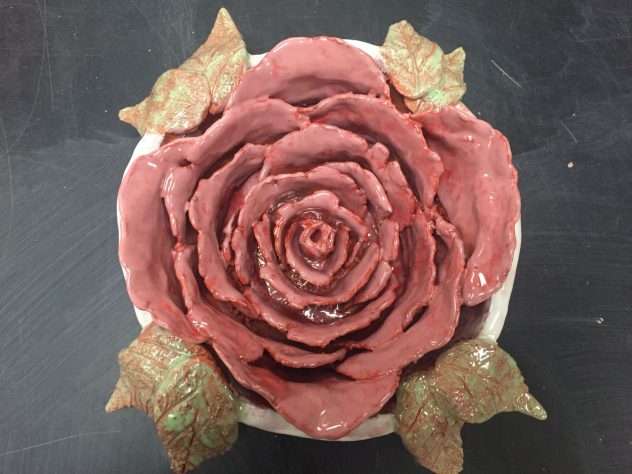
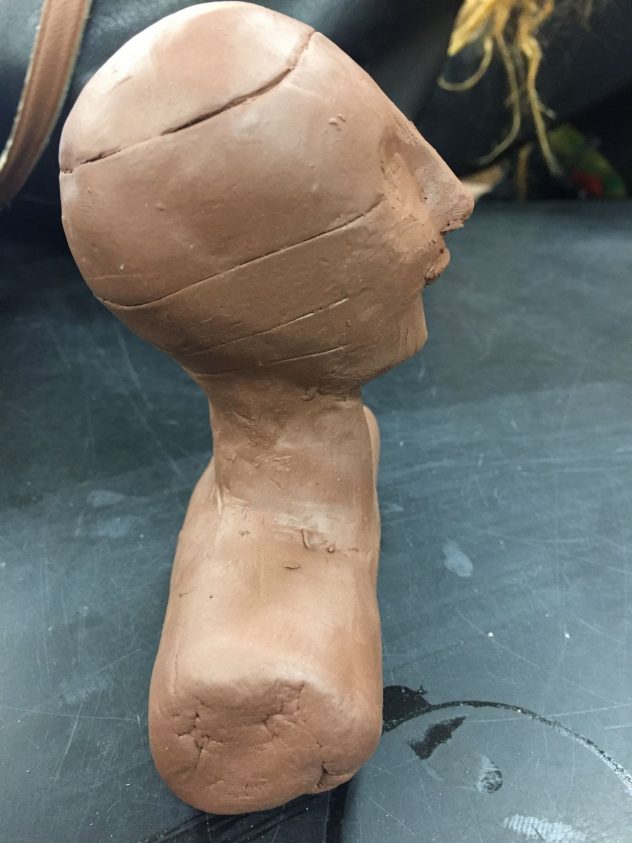
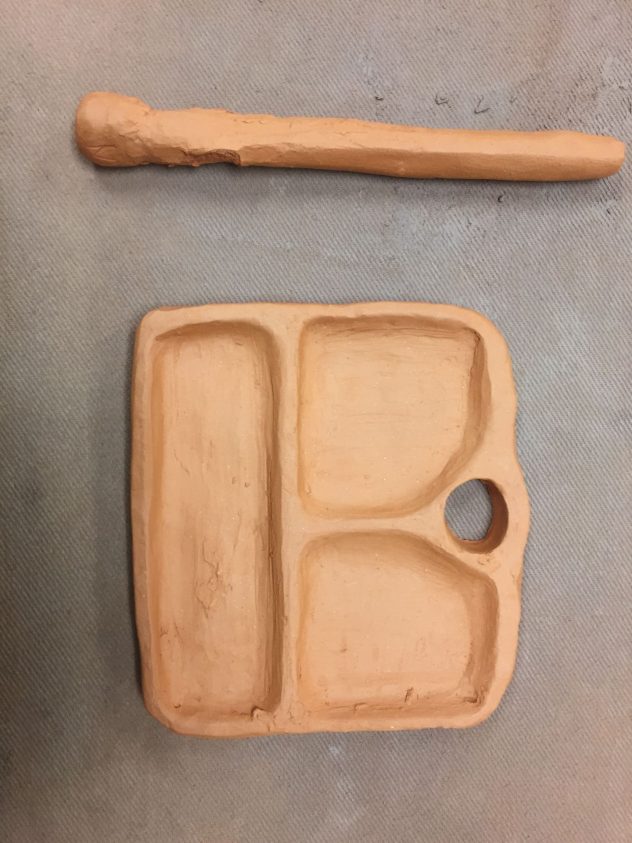
L    This project was a little bit later into the year and you can see that it is much smoother than the other one.

Looking back at all of my artwork from the beginning of the school year to now, I can see many of the skills that I have improved in. One of the skills that I think I have improved in quite a bit would be working to smooth out every area of all my artwork. This may seem like a small factor but I’ve noticed that one of the main things that made my earlier artwork not look so impressive was because of all of the cracks. When I started to take my time to smooth out all of the cracks, it made a huge difference in the appearance of all of my pieces.

I have also noticed that I have not really worked as much to do research before starting my projects, I usually like to think about my own ideas and try to use my own imagination. For example, in Blog Post #7 I said that, “I used sketches and a maquette to help plan my 3D artwork so that I could have a good visual of what I want my piece to look like…” . I never mentioned doing any online research at all. However, I do realize that doing some research and looking at some other pieces of artwork can aid in my thinking process and might my artwork turn out to look nicer.  I also feel that I need to also work on adding more of a deeper meaning to my artwork. Whenever I plan a piece that I could make, I usually never think about the meaning behind it, the reason why I am making it. I feel like that would also be a goal for next quarter for me.

This is one of my pieces from the beginning of the year. As you can see it has a lot of cracks in it.

This is how I usually plan my projects out instead of  doing any online research.

Blog Post #7

*These are pictures of the maquette and my sketch

Artists Plan

My artwork conveys the theme “Up Close” because it includes many elements that require the viewer of the artwork to come up close in order to see many of the details in the piece. Such as the petals inside the coffee cup may look like a flat swirl of whipped cream but it is actually a rose when you come up closer. Other details would be the leaves going around the rim of the cup (not added yet), the roses around the cup and down the handle (also not fully added yet).

Some elements or details that I am including in my artwork so that viewers understand what I am trying to share would be to try to add as many roses and leaves and vines in every spot of the cup in order to show that nature is everywhere and that most of the things we enjoy come from nature. I am also trying to completely surround the coffee cup with roses so that it looks like bush of roses shaped into a coffee cup.

Artists Plan

I used sketches and a maquette to help plan my 3D artwork so that I could have a good visual of what I want my piece to look like and so that I can easily plan out my piece and all of the details. I made a maquette so that I can see how I am going to make certain parts of this piece and how I am going to connect them to the cup.

Some challenges that I considered when doing the preparatory work was that the petals will be a bit hard to place and connect because they are very thin and may not be so sturdy. Also adding the leaves to the rim might be hard because I want them to be a little bit curved and this is hard to achieve with plastic clay.


Blog Post #6

Artists Build and Improve Their Art Making Skills

Some things that I learned from the portrait skill building activity would be the actual proportions of a face. I realized that the eyes are way lower than I had thought, and if it wasn’t for the teacher explaining that, then I would’ve put them way higher than desired. I also learned that to make the eyes, nose, ears and mouth I can just attach small pieces of clay and slowly add details to make it look more real.

I have gotten a little bit better in my pinching skills because this time I new exactly how I needed to make my pots and how wide their lips needed to be, also, I have more experience in pinching because of all the practice at the beginning of the school year.

Artists Take Risks

The main part of this activity that I am most uncertain about is making the lips. This is because I can’t seem to figure out how to add details to make the lips look like lips. I also placed them a bit too high so my chin looks too long which is also a problem. I will probably try to move the lips down some more and shave the chin down a little bit also.

Some new observations that I have built about human portraits is that including every single detail is very important in order to make the portrait more realistic. I have realized that the proportions of a face are different from what I thought they were. I also realized that to make the nose, mouth and ears you can start off by attaching small lumps of clay and slowly shaping them to look more and more realistic.

*NOTE: I have not finished my head yet!


Blog Post #5

Artists Plan

Some ideas that I explored when sketching out my tableware ideas included a giant teapot as my primary choice, a candle holder, a vase with large piercings as the design and a serving dish with holes going around the side of the lip of the lid to let out steam. After choosing the teapot to be my tableware piece I decided to write the word “Chai” on the front which means tea in Urdu and Hindi, I decided to do this because tea is very common in Pakistani and Indian culture and almost everyone in my family drinks it. I also decided to plan out the design which would be a few simple flower designs on the lid and around the teapot itself.

My maqutte is mostly similar to what I want my final piece to look like. The only  difference would be that the spout does not actually pour anything in the maquette due to the fact that my spout was too fragile for me to fully penetrate it. I also did not make any engravings on my maquette at all.

Artists Take Risks

One of the most intimidating things about this project was the size. I initially did not have the intention to make my teapot as big as it is turning out to be. This is because I make the base a bit too big and once I started adding coils I realized that it was going to be way bigger than I had planned. My main concern was not the size it was the amount of time it was going to take me to finish my piece but now I am feeling way more confident about it. Another big challenge will be to make the handle and the spout because my main problem with that is that it breaks as soon as I start to bend it into its shape. I feel like there may be a certain technique to making these correctly that I might need to learn!

I feel like using the coil bowl technique to build a teapot that is quite large in size will be a great learning experience for me because I have only made one other coil bowl which was very small. Along with that I will have to make the lip less wide than the middle of the teapot which will require me to change the placement of the coils.

Blog Post #4

Artists Reflect

Looking at my utilitarian project, I have realized that I this was an incredible learning experience for me due to the fact that I had encountered many obstacles during the creation of this project. Therefore, as I look forward to my next project I can keep these mistakes in consideration when building it. When looking at my slab project, I noticed that I have shown significant improvement in working to smooth out the piece, this is because I realized that if I went over it with the serrated edge scraper and then smooth it out with the regular scraper, the piece turns out way smoother than expected. However, when I did the sgraffito I had not planned out my design thoroughly enough which led me to make mistakes.

When looking at my utilitarian piece, I was most successful in making the base of the jewelry stand which will hold most of the jewelry. The only thing I could’ve done better would be to make the sections deeper and the overall base slightly larger. If I were to recreate my utilitarian piece, I would prefer to make it round and put the stand part in the middle. I would also make a handle on top if the stand piece making it easier to transport it, I feel that these changes would make the jewelry stand more visually appealing.

Artists Collaborate

I was very glad that I received a lot of positive feedback on my utilitarian piece. One example includes someone telling me that, “What I like most was how smoothed it all was and how well the grey looked.” I also received a lot of great advice to enhance my piece even more, for example, someone told me that, “I would make the jewelry pockets deeper.” I definitely felt the same way about the pockets! This changed my perspective about my piece because at first, I felt that it wasn’t good at all but after reading these comments, I felt much more confident in it.

Collaboratively reflecting on an artwork helps develop ideas more completely because sometimes only one person trying to brainstorm and think of a variety of different ideas might not be sufficient enough. While on the other hand, if one receives input from others about their piece it usually turns out better. For example, I would ask my table peers for advice on certain small details of my piece. I also received an abundant amount of help from the teacher also!


Blog Post #3

Artists Plan

The glaze that I am planning to use on my utilitarian project is probably a blue glaze because I haven’t used blue on any of my pieces before. Also, it would match the color scheme in my bedroom. For my soft slab construction project, I want to use the caramel gloss glaze because I had used it on my coil bowl that I had made a few weeks ago and I really liked the result. My utilitarian project has been fired in the kiln and my soft slab construction piece still has a few more steps to go.

The main thing that I have learned from my previous glazing experiences is adding a lot of coats to completely cover the surface of the piece. On my first glazed piece, I only added three coats which clearly turned out to not be enough. Then, on my next glazed project I added a few more coats but after being fired, I saw a few areas where the red clay was still visible.

Artists Solve Problems

While making my maquette for my my utilitarian piece, it all just completely collapsed after I was done making it. After that I got some help in figuring out more effective ways to make my piece. I then went on to create my final piece and I still ran in to some problems with the stability of the jewelry stand (my utilitarian piece). What I did to fix this problem was that I received advise to separate the actual stand from the flat part and keep a hole to insert it in whenever I would put it up. The handles attached to the stand were causing it to constantly tip over so I decided to not keep any handles at all and keep the stand part for bracelets or large sized rings.