Blog Post #3

Artists Plan

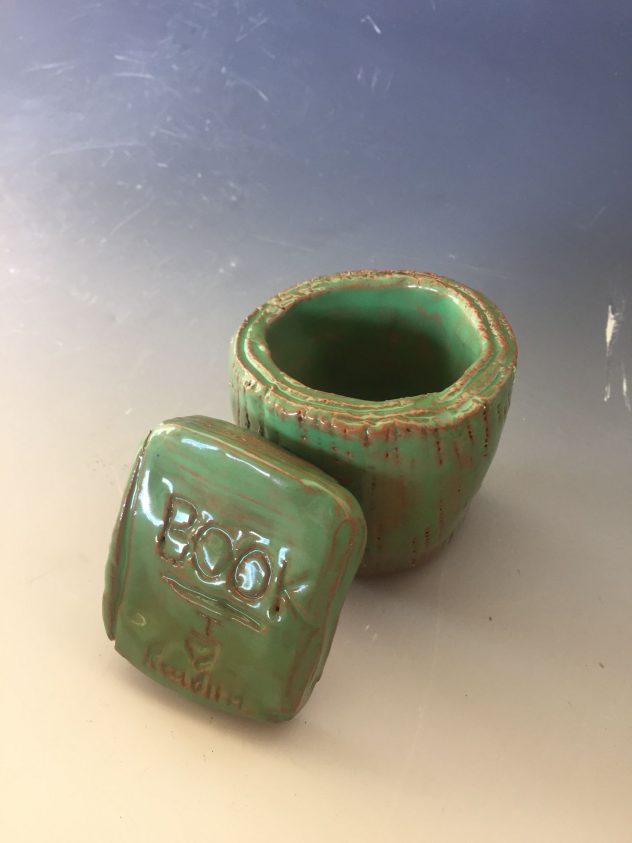
The glaze that I am planning to use on my utilitarian project is probably a blue glaze because I haven’t used blue on any of my pieces before. Also, it would match the color scheme in my bedroom. For my soft slab construction project, I want to use the caramel gloss glaze because I had used it on my coil bowl that I had made a few weeks ago and I really liked the result. My utilitarian project has been fired in the kiln and my soft slab construction piece still has a few more steps to go.

The main thing that I have learned from my previous glazing experiences is adding a lot of coats to completely cover the surface of the piece. On my first glazed piece, I only added three coats which clearly turned out to not be enough. Then, on my next glazed project I added a few more coats but after being fired, I saw a few areas where the red clay was still visible.

Artists Solve Problems

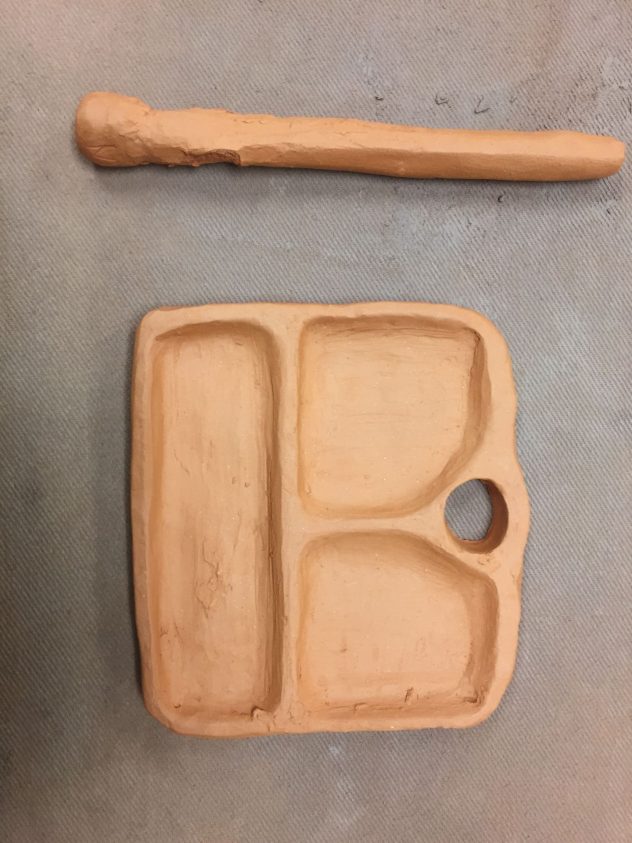
While making my maquette for my my utilitarian piece, it all just completely collapsed after I was done making it. After that I got some help in figuring out more effective ways to make my piece. I then went on to create my final piece and I still ran in to some problems with the stability of the jewelry stand (my utilitarian piece). What I did to fix this problem was that I received advise to separate the actual stand from the flat part and keep a hole to insert it in whenever I would put it up. The handles attached to the stand were causing it to constantly tip over so I decided to not keep any handles at all and keep the stand part for bracelets or large sized rings.

Blog Post #2

Three ways that my pinch pots changed in the bisque firing include one way being that they changed color. The pinch pots were a light brown before being bisque fired but turned red afterwards. Another way my pinch pots changed after being fired is that before being fired, their texture was almost like chalk, after being bisque fired they were not chalky anymore. The pinch pots also became harder and could not be turned to slip again. If I were building my pinch pots again then what I would change about the form is I would try to make the form more even and symmetrical. I would also try to make them a little bit wider. The glaze that I used was the glade green glaze on both my pinch pot and object. When applying the glaze, I went slowly and painted the strokes in the same direction. I also waited for the first coat to dry and then went on to paint the second coat. If I were glazing my pinch pot and object again, I would definitely add more coats. I would also maybe try to use a different color.

In my texture making activity, I learned that planning and sketching out my design is necessary in order to carve the design in neatly. Since I learned this after making the hole in the middle, I was able to sketch out the petals so I wouldn’t mess up. Some tools that I used included a pencil to sketch out my designs on to the piece and an engraving tool to actually cut out the pieces. Next time I would definitely, as I said before, try to plan and sketch out my design before carving it into my piece. Next time I would want to try making a design that is more intricate and has more detail.