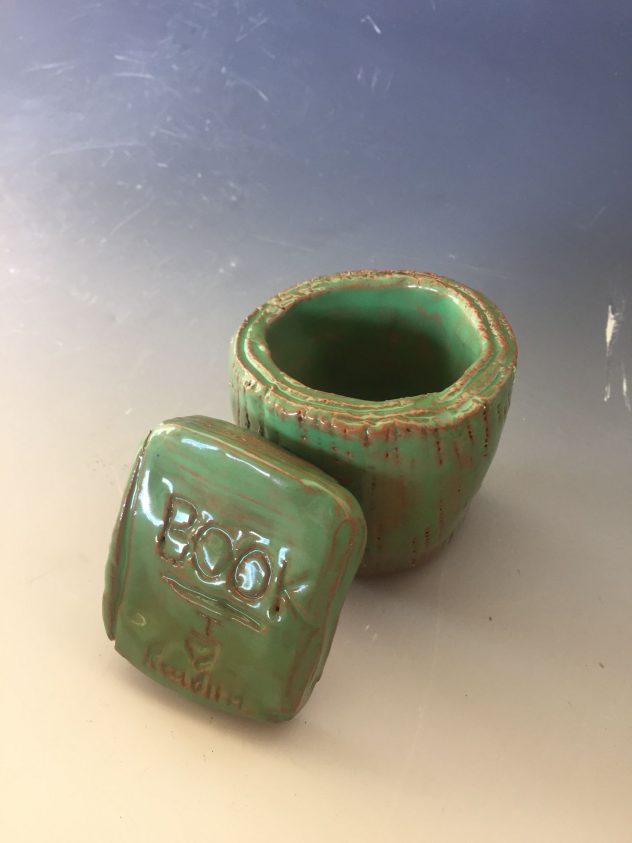
Three ways that my pinch pots changed in the bisque firing include one way being that they changed color. The pinch pots were a light brown before being bisque fired but turned red afterwards. Another way my pinch pots changed after being fired is that before being fired, their texture was almost like chalk, after being bisque fired they were not chalky anymore. The pinch pots also became harder and could not be turned to slip again. If I were building my pinch pots again then what I would change about the form is I would try to make the form more even and symmetrical. I would also try to make them a little bit wider. The glaze that I used was the glade green glaze on both my pinch pot and object. When applying the glaze, I went slowly and painted the strokes in the same direction. I also waited for the first coat to dry and then went on to paint the second coat. If I were glazing my pinch pot and object again, I would definitely add more coats. I would also maybe try to use a different color.
In my texture making activity, I learned that planning and sketching out my design is necessary in order to carve the design in neatly. Since I learned this after making the hole in the middle, I was able to sketch out the petals so I wouldn’t mess up. Some tools that I used included a pencil to sketch out my designs on to the piece and an engraving tool to actually cut out the pieces. Next time I would definitely, as I said before, try to plan and sketch out my design before carving it into my piece. Next time I would want to try making a design that is more intricate and has more detail.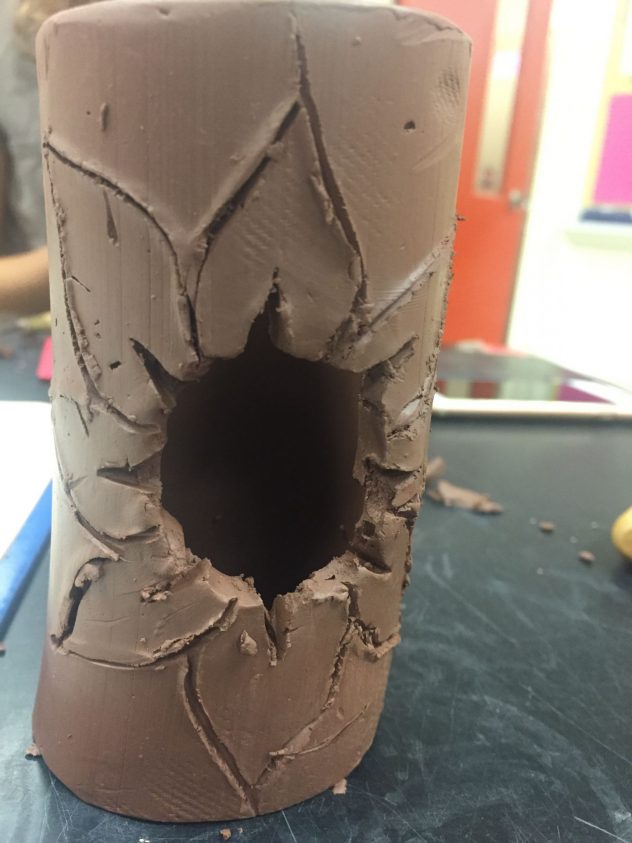


 My clay objects show my improvement in working with clay because they are smoother and have a more even shape than all of my previous creations. When rolling out my coils for my coil bowl, I learned that I should use my fingers to roll it out rather than use my palms. I also realized that taking your time on smoothing all of the cracks really helps because it makes the whole outlook of the bowl look way better than it would if there were cracks.